Calibration Intervals - When is it Time to Recalibrate?

Calibration Intervals
A calibration interval is the period between two consecutive calibrations of MT&E. This interval is crucial for ensuring that the equipment continues to operate within its specified performance and the claimed Calibration and Measurement Capability (CMC) uncertainty parameter, sometimes referred to as the Expanded measurement uncertainty of the MT&E. The calibration interval determines how frequently this process needs to be repeated to maintain the MT&E specifications.
Several factors influence how often calibration should be performed, including the stability of the instrument, its usage frequency, environmental conditions, and the critical nature of the measurements it performs.
Often, the manufacturer sets specifications and recommendations for maintaining the MT&E specifications. Legal standards also prescribe guidance to help ensure these specifications are likely to be maintained.
Setting and adjusting calibration intervals is key to balancing operational efficiency, measurement risk, quality, safety, and compliance.
Calibration Interval Adjustment
There are several published papers and documents relating to calibration interval adjustment. NCSLI RP-1 an excellent recommended practice. According to NCSLI RP-1, calibration interval adjustment provides a framework for ensuring equipment operates within acceptable accuracy/measurement uncertainty limits through periodic recalibration.
Understanding Calibration Interval Adjustment
The calibration interval is the period between successive, scheduled calibrations of equipment. Typically, the main objective of Calibration Interval Adjustment is to limit the usage of equipment attributes that fall out of tolerance to acceptable levels. This helps maintain operational accuracy and efficiency across various industries, from manufacturing to healthcare.
The adjustment of calibration intervals is influenced by several factors, including:
- Historical performance data of the equipment based on EOPR (End of Period Reliability): Reviewing how the equipment has performed over time can indicate its stability and the potential risk of drift from specified performance standards.
- The criticality of measurements: Equipment used in critical measurements may require more frequent calibration.
- Environmental conditions: Factors like temperature, humidity, and operational conditions that might accelerate wear or degradation.
- Manufacturer's recommendations: Guidelines regarding the calibration frequency were provided by the equipment manufacturer.
Strategies for Optimal Interval Adjustment
Various methods for analyzing and adjusting calibration intervals emphasize a systematic approach incorporating technical and management information to design, implement, and manage effective calibration programs. Here are some key strategies outlined in the documents provided:
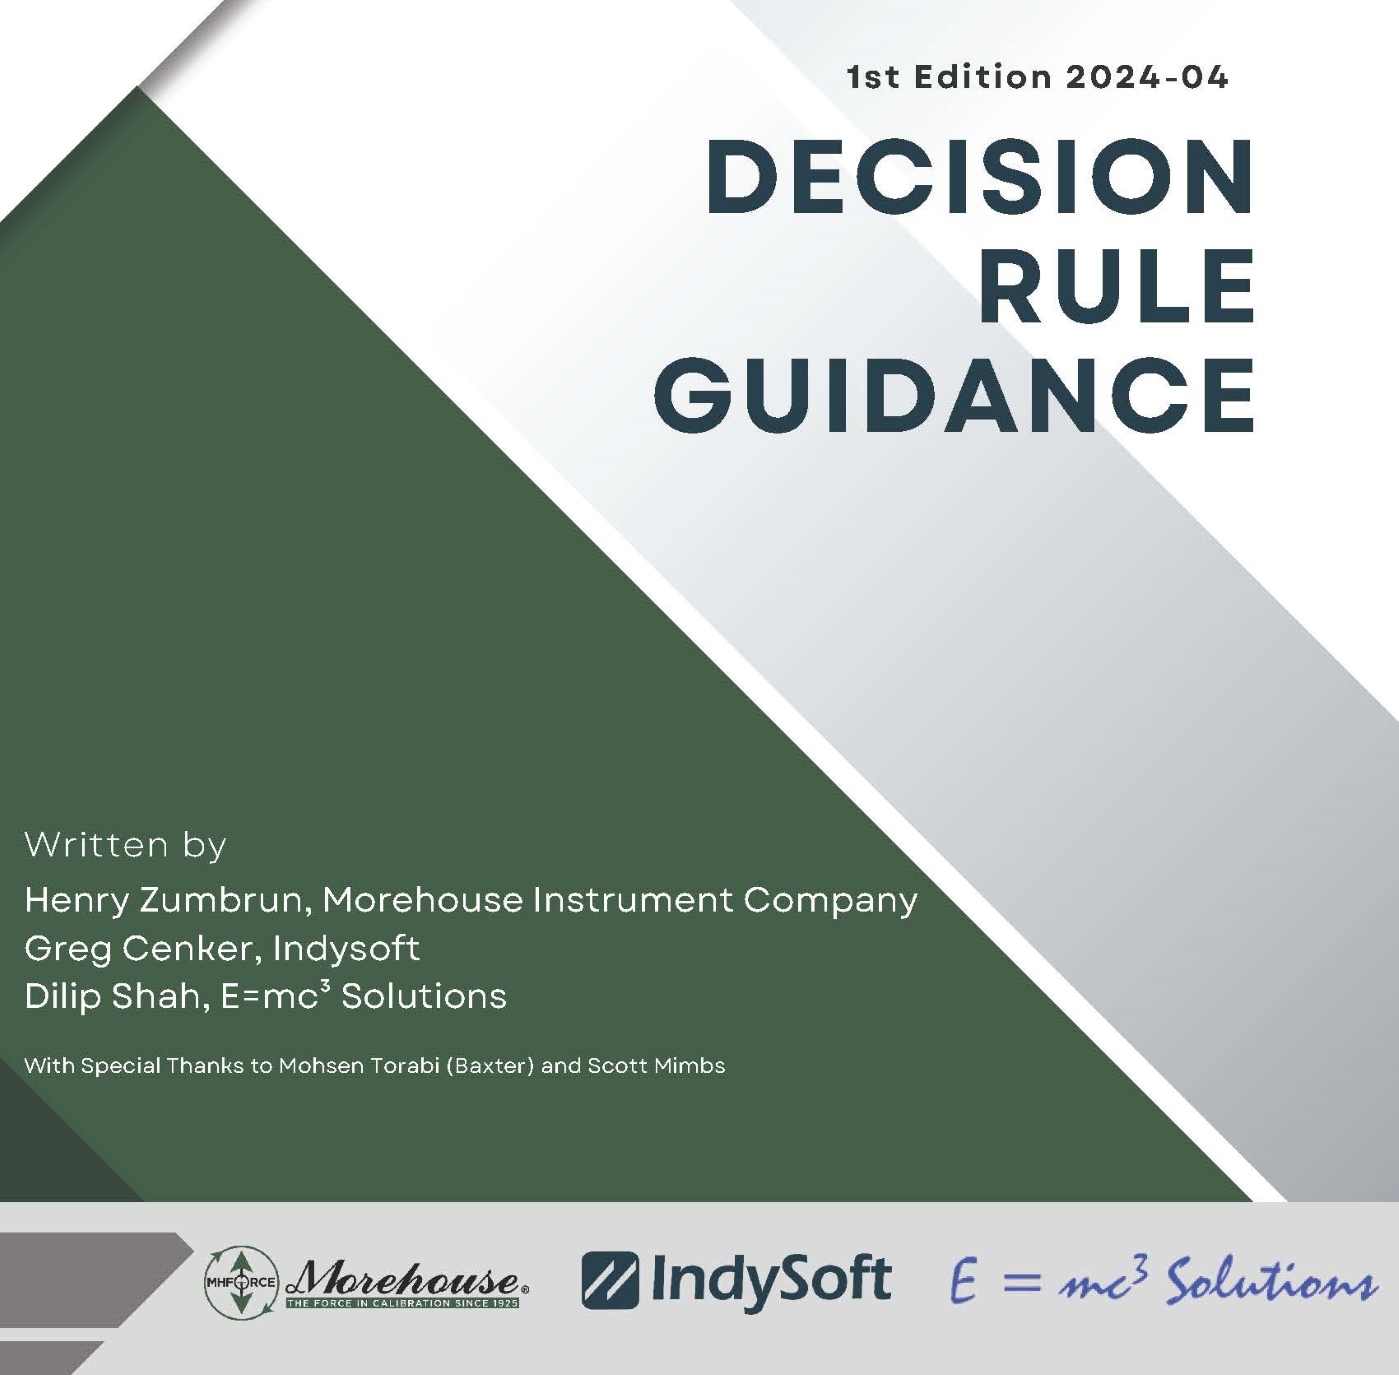
- Risk-Based Analysis: Prioritize calibration based on the potential impact of instrument failure, focusing on critical equipment. This approach assesses the likelihood and consequences of failures to minimize risks to acceptable levels. We have a guidance document to help simplify decision rules that can be downloaded here.
- Data-Driven Adjustments: Use detailed historical data and advanced statistical methods to forecast optimal calibration times. Analyzing past performance data and employing statistical tests to determine if the observed measurement reliability significantly deviates from targets can suggest necessary interval adjustments.
- Regular Reviews and Adjustments: Continuously update calibration intervals based on new data, technological advancements, and changes in operational requirements. This ensures that calibration policies remain aligned with current operational realities and technological capabilities.
- Statistical Analysis and Modeling: Apply statistical methods that allow for interval adjustment based on reliability modeling and projection. Techniques might include using confidence levels and statistical significance to guide decisions on extending or reducing intervals according to reliability targets.
- Engineering Analysis: Adjust intervals based on engineering judgment and analysis, which considers the specific conditions and performance requirements of the equipment. This method might involve a detailed analysis of equipment behavior under various operating conditions, allowing for adjustments that reflect a thorough understanding of equipment characteristics.
Reliability/End of Period Reliability
The Estimate of Reliability can be calculated using the formula below.
Reliability is defined as the number of calibrations resulting in as-received IN – Tolerance Results divided by the total number of calibrations.
Reliability Considerations may include:
- Reliability decreases with time after calibration.
- How much testing is required to demonstrate reliability with confidence?
- A priori knowledge of the M&TE.
Reliability decreases with time after calibration.
Reliability Analysis of M&TE should be based on similar instrumentation, manufacturer, model #, and calibration intervals. What should be avoided is intermixing different M&TE with different calibration intervals, environments, and conditions (applications).
The example above estimates the EOPR by simple division, which provides "a number" but disguises the confidence associated (it is not "the number”). For example, if a particular make/model instrument were calibrated 100 times with no "Out of Tolerance" (OOT) noted, using simple math we discover the EOPR is 100%. This is a false statement. Although 100 out of 100 items were found "In-Tolerance", the true reliability is somewhere between two reliability confidence bounds. If the servicing lab has an EOPR target of 99% with 90% confidence and zero failures, the worst-case EOPR is assumed to be the lower calculated confidence bound.
Calculating True versus Observed EOPR with the appropriate confidence bounds is beyond the scope of this blog. However, our decision rules document has a lot of information relating to it, as does our load cell reliability paper, which can be found here.
Control Charts
One of the best and most practical ways for a laboratory to justify calibration intervals is to maintain Shewhart control charts (SPC – Statistical Process Control charts). This is achieved by monitoring and charting key parameters of the equipment in between currently established calibration intervals for the equipment. Several established control limit criteria are then used to determine the stability of the artifact. This satisfies many requirements for ISO/IEC 17025:2005 and ISO/IEC 17025: 2017 ( Dilip Shah’s “ kill five birds with one stone” quotation – the “stone” being the SPC tools and techniques and the “birds” being the ISO/IEC requirements ).
Having the historical data in the SPC format helps determine and justify if the calibration interval needs to be shortened or lengthened.
Calibration Intervals Conclusion
In summary, the goal for many users of calibration equipment is to set the appropriate calibration intervals to balance the cost and time involved in performing calibrations with the risk and impact of potential equipment failures, thereby optimizing operational efficiency and ensuring compliance with applicable industry standards. A thorough Reliability/EOPR analysis combined with control charts is likely the best option for critical equipment.
Listed below are links to several articles on calibration intervals for your reference:
Force Calibration for Technicians Book
Our guidance document to help simplify decision rules can be downloaded here.

Note: Since this original article was published, ISO IEC 17025:2017 was released. The article has been edited and updated.
Remember to think of Morehouse for your force and torque calibration needs!
About Morehouse Instrument Company
Companies worldwide rely on Morehouse for accuracy and speed. The company turns around equipment in 7-10 business days so customers can return to work quickly and save money.
The York, PA-based company provides force and torque measurement products and services worldwide.
Morehouse Instrument Company, a trusted and accredited provider of force and torque measurement services for over 100 years, offers measurement uncertainties 10-50 times lower than the competition.
Morehouse helps commercial labs, government labs, and other organizations lower their measurement risk by lowering equipment uncertainties for torque and force measurement. Contact Morehouse at info@mhforce.com .
More Information about Morehouse
We believe in changing how people think about force and torque calibration in everything we do.
This includes setting expectations on load cell reliability and challenging the "just calibrate it" mentality by educating our customers on what matters and what causes significant errors.
We focus on reducing these errors and making our products simple and user-friendly.
This means your instruments will pass calibration more often and produce more precise measurements, giving you the confidence to focus on your business.
Companies around the globe rely on Morehouse for accuracy and speed.
Our measurement uncertainties are 10-50 times lower than the competition.
We turn around your equipment in 7-10 business days so you can return to work quickly, saving you money.
When you choose Morehouse, you're not just paying for a calibration service or a load cell.
You're investing in peace of mind, knowing your equipment is calibrated accurately and on time.
Contact Morehouse at info@mhforce.com to learn more about our calibration services and load cell products.
Email us if you ever want to chat or have questions about a blog.
We love talking about this stuff.
Our YouTube channel has videos on various force and torque calibration topics here.
# Calibration Intervals


