Strain Gauge: How a Load Cell Measures Force
Strain Gauge is sometimes misspelled as a strain gage.

A strain gauge is a sensor used to measure strain (deformation) on an object.
Here's a brief overview of strain gauges:
- Structure:
- Typically, it consists of a thin, flexible, insulating backing that supports a metallic foil pattern.
- The foil is arranged in a grid pattern to maximize the amount of metallic wire or foil subject to strain in the parallel direction.
- Working Principle:
- Based on the principle that electrical resistance changes when a conductor is stretched or compressed.
- As the object to which the strain gauge is attached deforms, the foil is deformed, causing its electrical resistance to change.
- Measurement:
- The change in resistance is usually measured using a Wheatstone bridge circuit.
- This change is related to the strain by a quantity known as the gauge factor.
- Types:
- Bonded strain gauges: Attached directly to the object
- Unbonded strain gauges: Used in certain types of pressure sensors and accelerometers
- Applications:
- Structural health monitoring
- Stress analysis
- Load cells for weighing systems
- Load cells for Force Measurement
- Pressure sensors
- Torque sensors
- Advantages:
- High sensitivity
- Excellent linearity
- Low cost
- Can be used in a wide range of temperatures
- Considerations:
- Proper bonding to the measured object is crucial
- Temperature compensation may be necessary
- Careful alignment is required for accurate measurements
Strain gauges are fundamental in many force and pressure measurement devices, including tension and compression load cells.
They allow for the precise conversion of mechanical deformation into electrical signals, which can then be processed and interpreted to determine applied forces or pressures.

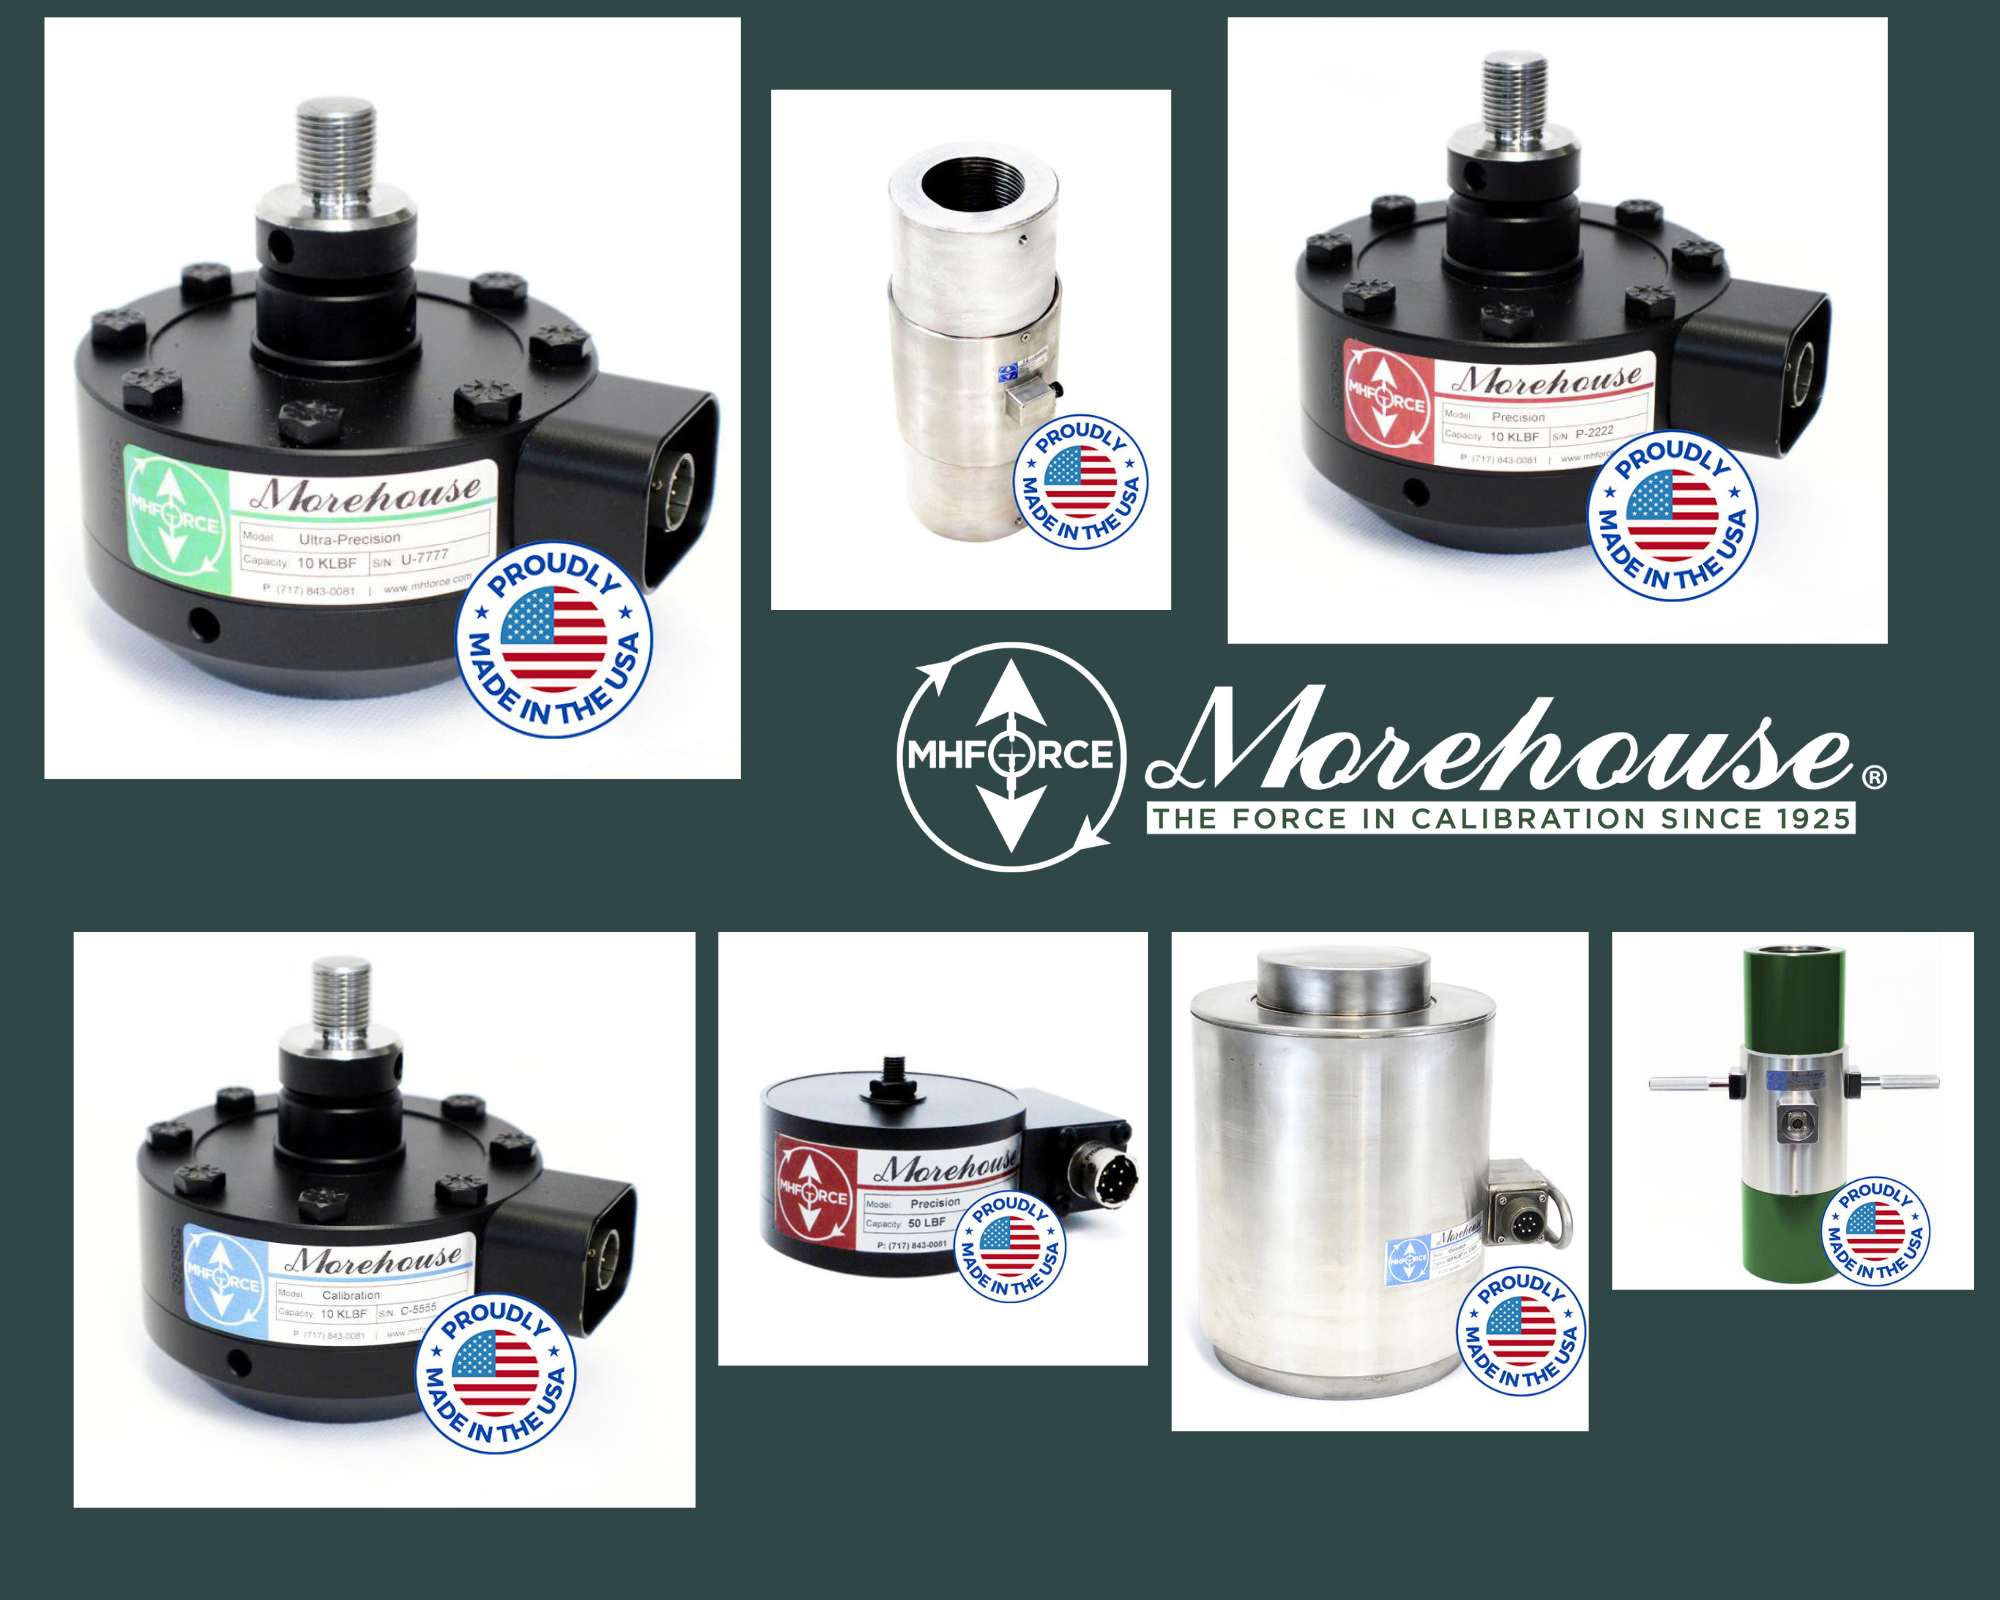
Examples of many Morehouse load cells.
How load cells work
As force is exerted on a load cell, the material deflects. The deflection is typically measured by a strain gauge placed on the material inside the load cell.
When placed appropriately, the strain gauge measures the change in resistance as force is applied. The ideal load cell only measures force in defined directions and ignores force components in all other directions. Approaching the ideal involves optimizing many design choices, including the mechanical structure, gauge pattern, placement, and number of gauges.
Sometimes, you may only have one strain gauge. Two can be common in cheap loadcells like bathroom scales. Four is the most common. More gages are usually used to increase some aspects of performance. Sixty-four is the most we’ve ever heard of on one bridge.
Compression shortens the wire, causing a decrease in its resistance, while tension stretches the wire, causing resistance to increase. If we can imagine a column with strain gages on it and we apply a compressive force, its diameter will increase, and when a tensile force is applied, its diameter decreases.
Poisson's ratio predicts the proportional change in diameter. 'Poission's ratio' is the ratio of transverse strain (change in diameter) to axial strain (change in length).
If a strain gauge is bonded to the column to measure this circumferential strain, the strain gauge's resistance changes directly in response to the applied force. The change in resistance of an axially oriented strain gauge is opposite to that of a circumferentially oriented strain gauge when force is applied.
When we measure the resistance of the gauge under load, the force can be computed. When hooked to a load cell, a meter or indicator displays the force measurement value. A load cell may be calibrated at a company like Morehouse using deadweight primary standards known to be within 0.002 % of applied force. The machine's deadweights are adjusted for local gravity, air density, and material density to apply the force accurately. The weights are used to calibrate the load cell, which may be used to calibrate other instruments or calibrate and verify a testing machine.
About Morehouse Instrument Company
Morehouse Instrument Company, a trusted and accredited provider of force and torque measurement services for over 100 years, offers measurement uncertainties 10-50 times lower than the competition.
Morehouse helps commercial labs, government labs, and other organizations lower their measurement risk by lowering equipment uncertainties for torque and force measurement. Contact Morehouse at info@mhforce.com.
More Information about Morehouse
We believe in changing how people think about force and torque calibration in everything we do. This includes educating people on the importance of tension load cell equations.
We focus on reducing these errors and making our products simple and user-friendly.
This means your instruments will pass calibration more often and produce more precise measurements, giving you the confidence to focus on your business.
Companies around the globe rely on Morehouse for accuracy and speed.
Our measurement uncertainties are 10-50 times lower than the competition.
We turn around your equipment in 7-10 business days so you can return to work quickly and save money.
When you choose Morehouse, you're not just paying for a calibration service or a load cell.
You're investing in peace of mind, knowing your equipment is calibrated accurately and on time.
Contact Morehouse at info@mhforce.com to learn more about our calibration services and load cell products.
Email us if you ever want to chat or have questions about a blog.
We love talking about this stuff.
Our YouTube channel has videos on various force and torque calibration topics here.


